
Introduction
Potentiometers are variable resistors and they function to alter their resistance via a knob or dial. You have probably used one before by adjusting the volume on your stereo or using a light dimmer.
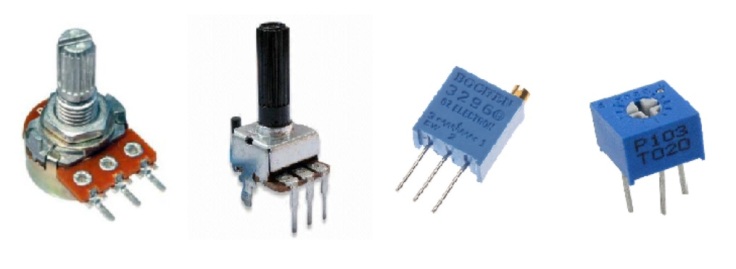
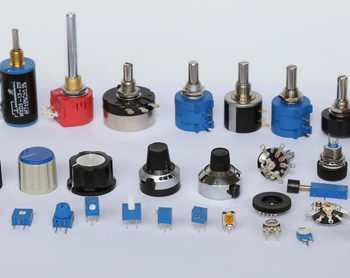
Potentiometers have a range of resistance. They can be attuned from zero ohms to whatever maximum resistance that is specific to it. For example, a potentiometer of 10 kΩ can be adjusted from 0 Ω to its maximum of 10 kΩ.
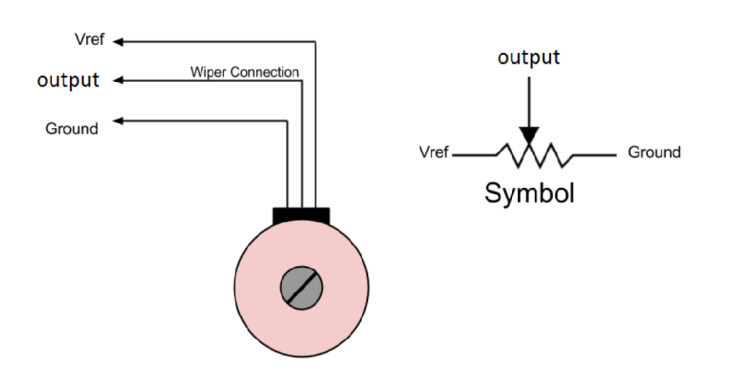
Potentiometer pinout-
Potentiometer usually has 3 pins:
- GND pin needs to be connected to GND (0V)
- VCC pin needs to be connected to VCC (5V or 3.3v)
- Output pin outputs the voltage to Arduino’s input pin.
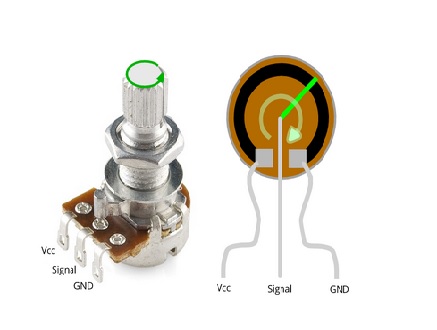
By turning the shaft of the potentiometer, we change the amount of resistence on either side of the wiper which is connected to the center pin of the potentiometer. This changes the relative “closeness” of that pin to 5 volts and ground, giving us a different analog input. When the shaft is turned all the way in one direction, there are 0 volts going to the pin, and we read 0. When the shaft is turned all the way in the other direction, there are 5 volts going to the pin and we read 1023. In between, analogRead() returns a number between 0 and 1023 that is proportional to the amount of voltage being applied to the pin.
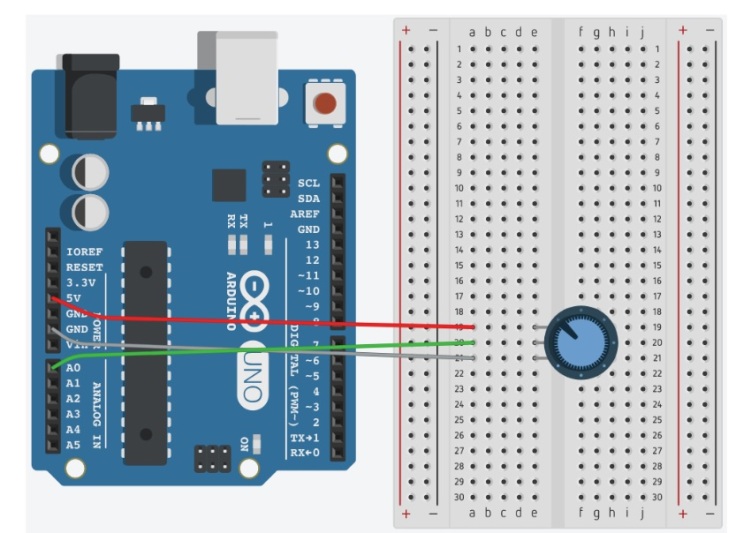
1.Reading a Potentiometer
Material Required-
- Arduino uno
- Breadboard
- Potentiometer (e.g. 10k)
circuit-
Code-
/*
Author:Dharmendra Kumar yadav
Analog value reading
*/
int potPin = A0;
void setup()
{
Serial.begin(9600); // initialize the serial communication// Note: analog pins are automatically set as inputs
}
void loop()
{
int potValue = analogRead(A0);// get a reading from the potentiometer on A0
Serial.println(potValue);// print out the value you read
delay(200);// a delay makes values easier to read
}
Code Explanation-
analogRead(A0)- get a reading from the potentiometer on A0 pin
Serial.println(potValue)– print out the value you read
delay(100)-its delay between reading it makes values easier to read
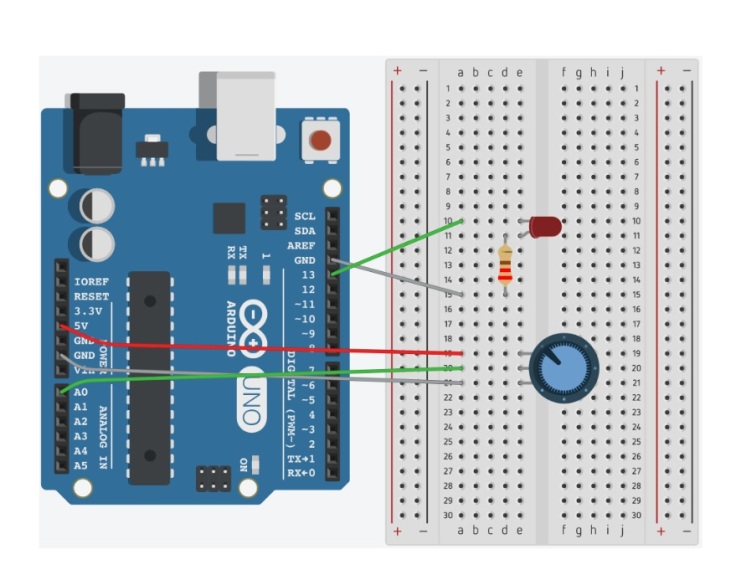
2. Blink LED Based on Potentiometer Reading:
Material Required-
- Arduino uno
- Breadboard
- LED
- 220 Ohm resistor
- Potentiometer (e.g. 10k)
Circuit-

Code
/*
Author:Dharmendra Kumar yadav
Analog value reading
*/
int potPin = A2;
int ledPin = 4;
int val=0;

void setup() {
pinMode (ledPin, OUTPUT);//Sets the LED pin as an output
}

void loop() {
val = analogRead(potPin); //reads the analogue voltage from the pot via ADC and stores it in the variable


digitalWrite(ledPin, HIGH); //turn the LED output pin high turning the LED on


delay(val); //waits an amount of time dependent on the potentiometer position


digitalWrite(ledPin, LOW); //turn the LED output pin low turning the LED off


delay(val); //waits an amount of time dependent on the potentiometer position
}
Code Explanation-
When programmed with this code the speed at which the LED flashes will depend on the position of the potentiometer. If you turn the pot all the way in one direction then the light will flash extremely slowly, and the LED will be constantly on in the other direction. This is because the LED is flashing faster than your eye can process so it appears as constant light
val=analogRead(potPin)–Read analog value from potentiometer middle pin.
digitalWrite(ledPin, HIGH)– turn the LED output pin high which make the LED ON. digitalWrite(ledPin, LOW)– turn the LED output pin low which make the LED OFF. delay(val) -waits an amount of time dependent on the potentiometer position.
3. Led glowing with change in Potentiometer:
Material Required-
- Arduino uno
- Breadboard
- LED
- 220 Ohm resistor
- Potentiometer (e.g. 10k)
Circuit-
Code-
/*
Author:Dharmendra Kumar yadav
Analog value reading
*/
const int ledPin = 13; //pin 13 has PWM funtion
const int potPin = A0; //pin A0 to read analog input

//Variables:
int value; //save analog value

void setup(){
//Input or output?
pinMode(ledPin, OUTPUT);
pinMode(potPin, INPUT); //Optional
}
void loop(){

value = analogRead(potPin); //Read and save analog value from potentiometer
value = map(value, 0, 1023, 0, 255); //Map value 0-1023 to 0-255 (PWM)
analogWrite(ledPin, value); //Send PWM value to led
delay(100); //Small delay

}
Code explanation-
- value=analogRead(potPin) -Read analog value from potentiometer middle pinvalue
- map(value, 0, 1023, 0, 255) – Map analog values 0-1024 to pwm values 0-255
- analogWrite(ledPin, value)- Send pwm value to led

Leave a comment