
Introduction
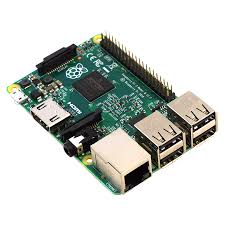
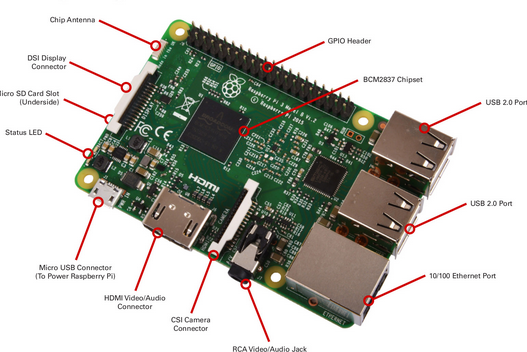
The Raspberry pi is an amazing single board computer. capable of running Linux and a whole host of applications.
Install the OS
You have a few options when it comes to interacting with the Raspberry Pi. The first and most common is to use it like you would a full desktop computer (just smaller). This involves connecting a keyboard, mouse, and monitor. With this setup, you are likely best served by installing Raspbian with Desktop, which gives you a full graphical user interface (GUI) to work with. This is the best option if you want an experience similar to working with other operating systems (OS), such as Windows, macOS, or other popular Linux flavors, like Ubuntu.
Materials Required
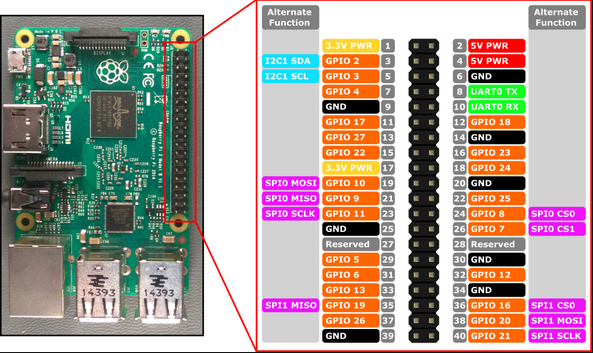
You’ll need a SD card(class 6 or above), mouse, keyboard, and HDMI monitor/TV/adapted VGA to begin with . You will also need an internet connection to get resources, and library.you can use the on board in raspberry pi 3 and pi zero(wireless edition). Raspberry pi 2 and previous version do not have inbuilt wifi so use Ethernet cable for internet.
Following steps will required for insttaling raspberry pi 3.
step 1. Download noobs from official website latest version select offline version
step 2– Extract the file At you desired place
step 3–Put the SD card in your computer format it using SD card formmater and name it BOOT .
step 4–Go to NOOBS folder which you have extracted and copy all content.
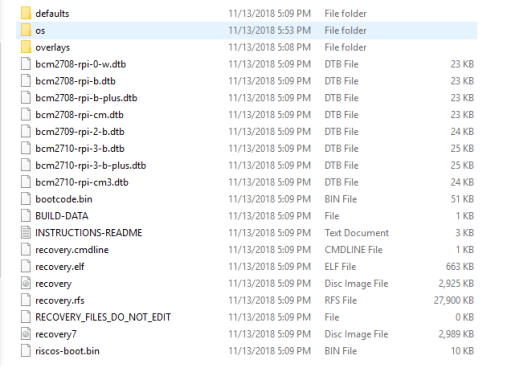
step 5– paste it in your SD card which you have given a name boot insert the sd card in raspberry pi3. connect monitor ,power and mouse keyboard.


Before you apply power for the first time, run through this checklist.
- Is the microSD card installed and seated firmly?
- Is the HDMI attached and the monitor powered?
- Are the mouse and keyboard plugged in?
- Are the mouse and keyboard standard USB, not wireless? – Some wireless keyboards have trouble enumerating, so use one you trust.
- Is the whole setup secure on your desk and not liable to jump onto the floor at the first touch?
Ok, you’re ready to apply the power to the Pi.
step 6- As the system start you will see a screen select raspbian full .


step 7- It will take some time to install till than take a coffee break after 10 to 20 minutes you will see a page like below page.
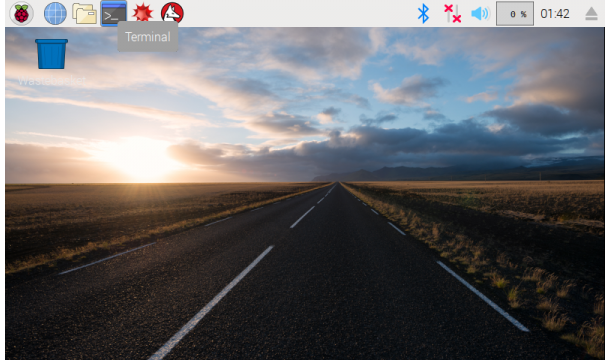
congrats!!!!! you have installed the raspberry pi correctly!!!!!!!

Leave a comment